Offline banking ledger software
Runs entirely on your shop's own computer — no internet needed to open, work through the day, or search your records. Built directly with sarafa families and bankers around how a Girvi and an Udhar actually move through your books, from the Home page's navigation menu.
What it does
Girvi Management System replaces the paper girvi register with software built around one navigation menu — Add Customer, Search, Transaction, Report, Admin and User — that follows the exact same rhythm as the counter, with every Girvi and Udhar entry recorded, searchable, and on record for good.
Because it installs and runs on the shop's own computer rather than a server somewhere else, it keeps working through a power cut, a slow connection, or no connection at all. Everything is saved locally the moment it's entered.
Setup, step by step
Follow along on the left, and see exactly what each step looks like on the right.
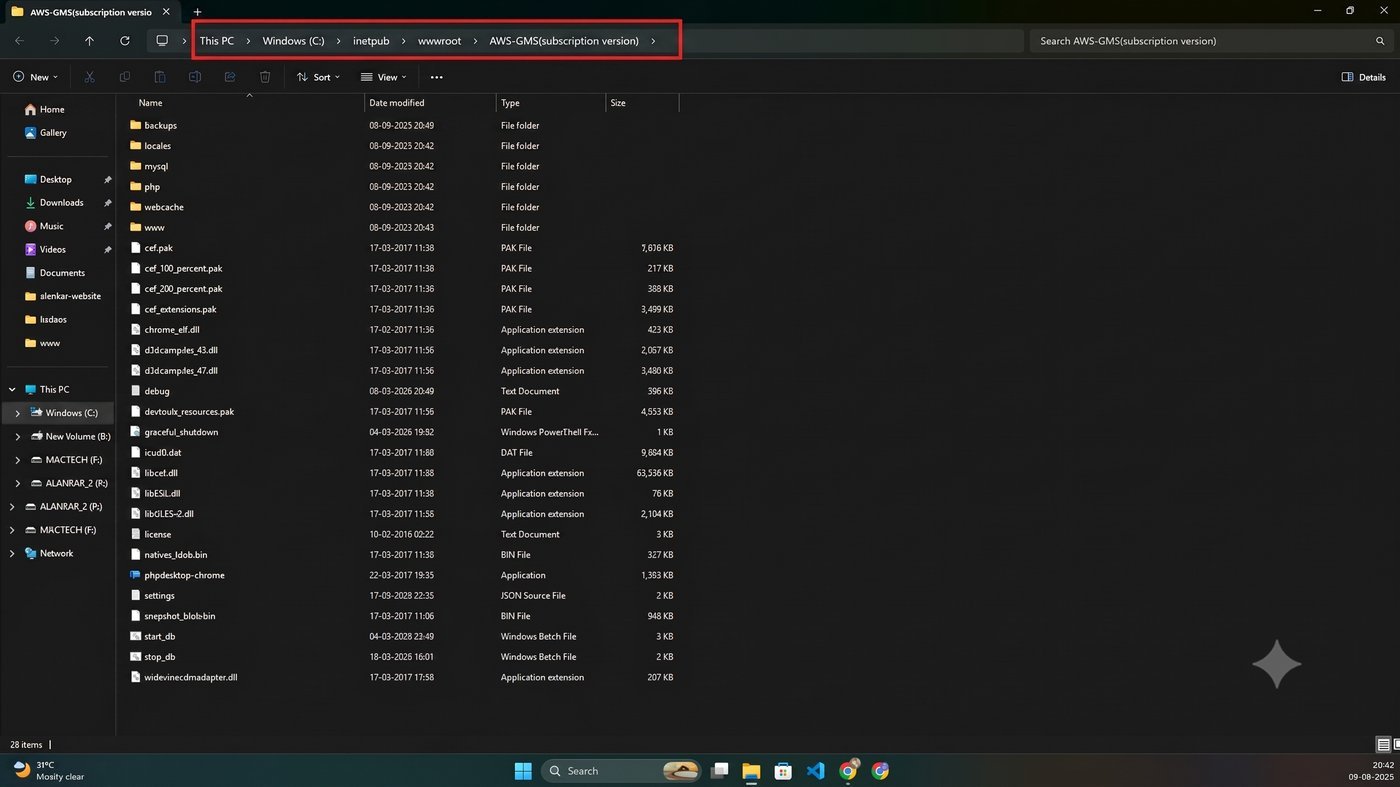
After downloading, open the folder — for example wwwroot > AWS-GMS(subscription version) as shown here. Check that folders like mysql, php, www and webcache, along with the core app files, are all present before continuing.
You should also find five small system files that run the software behind the scenes:
Your folder name may look different depending on your edition or version — that's expected. What matters is that these core files and folders are there.
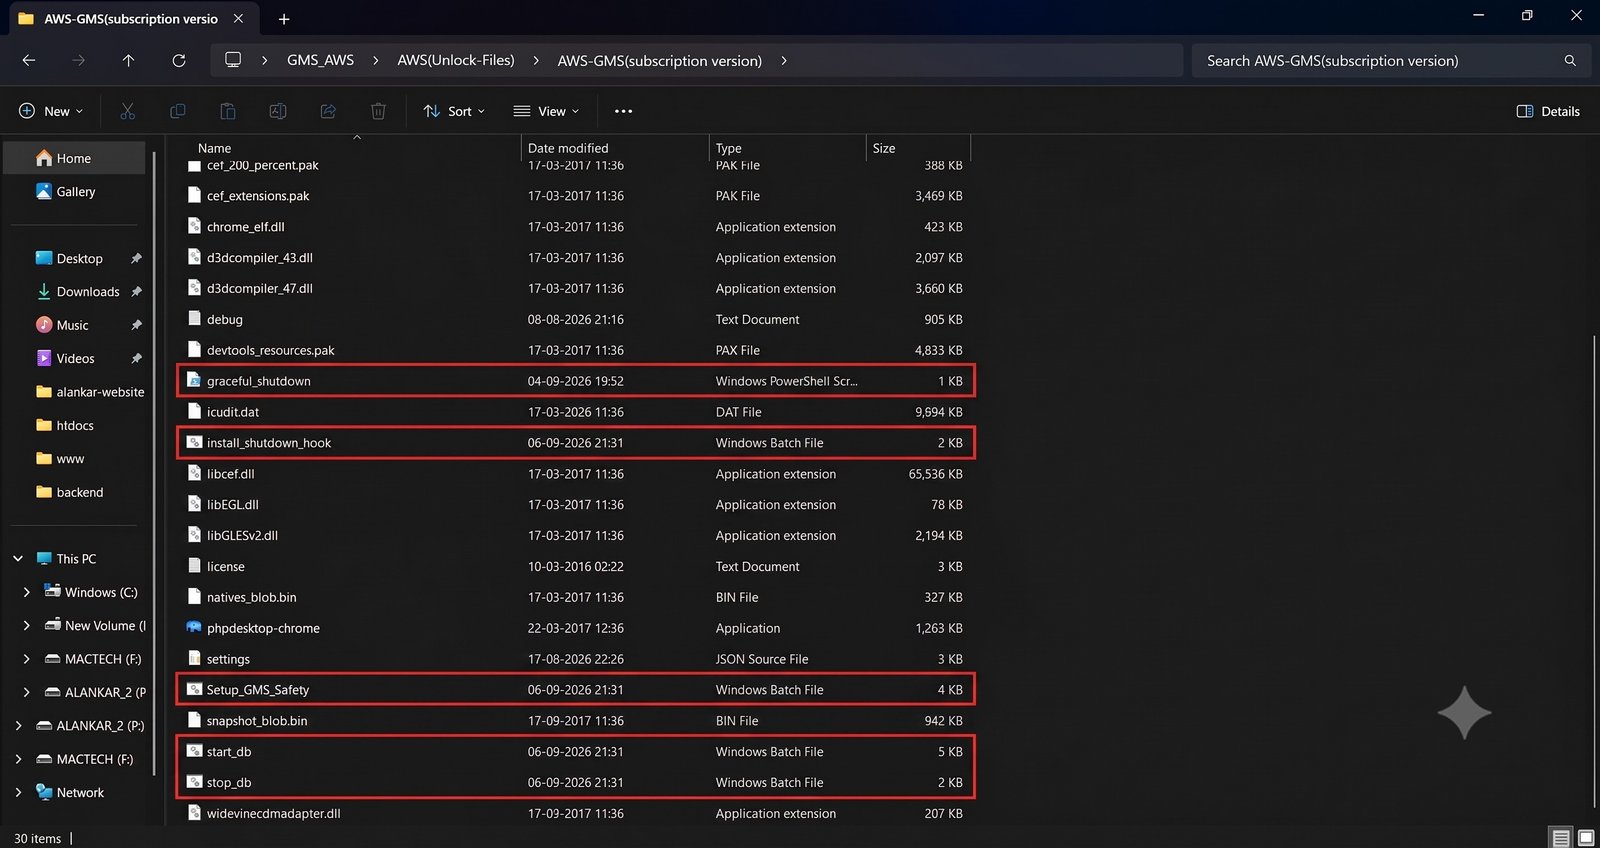
Before executing start_db for the first time, you'll also find install_shutdown_hook.bat and setup_GMS_safety.bat already sitting in the same folder (from Step 1). Right-click each of these two files in turn and select Run as administrator.
These two files — install_shutdown_hook.bat and setup_GMS_safety.bat — are to be executed only once, at the time of installation. Do not run them again after that. From this point on, only start_db.bat should be executed to open the software.
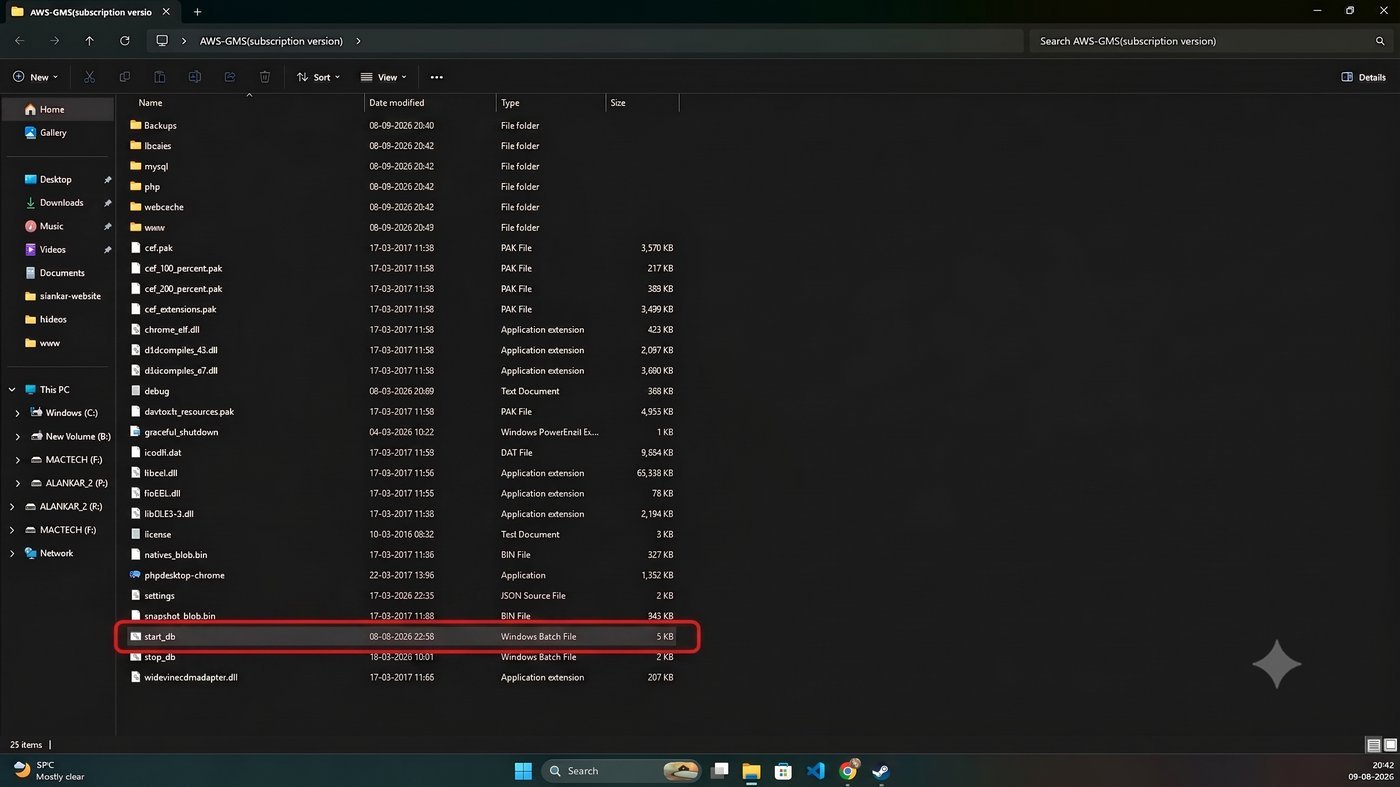
start_db to launch the systemInside the same folder, locate the file named start_db (a Windows Batch File) and double-click it. This is what starts the local database and application services that the Girvi Management System runs on.
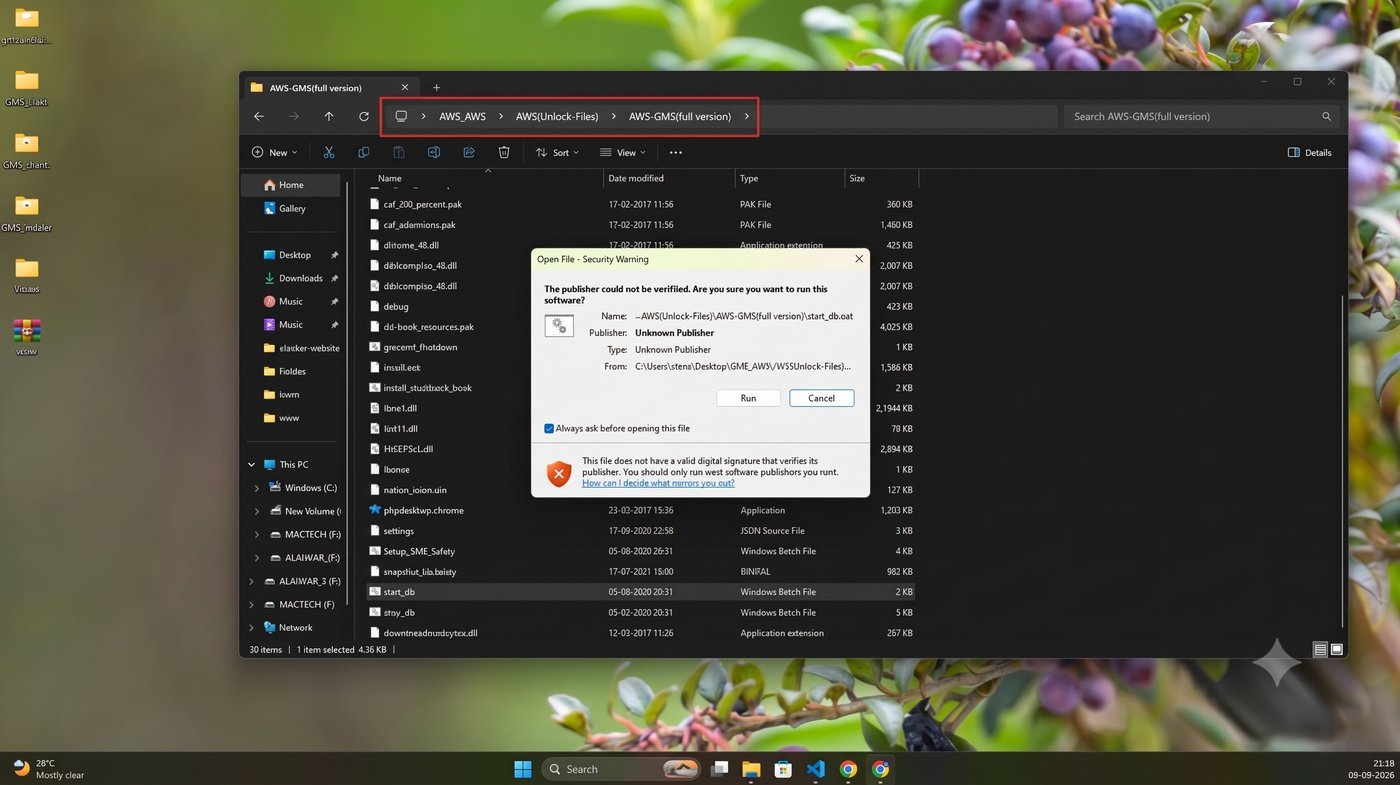
Double-clicking start_db brings up an "Open File – Security Warning" dialog, since the file isn't from a Microsoft-verified publisher. This is expected for locally installed business software — click Run to continue.
A second, similar prompt may appear for the MySQL component starting up in the background. Approve this one the same way. Both are one-time approvals per installation — accepting them is what allows the database and application to start correctly.
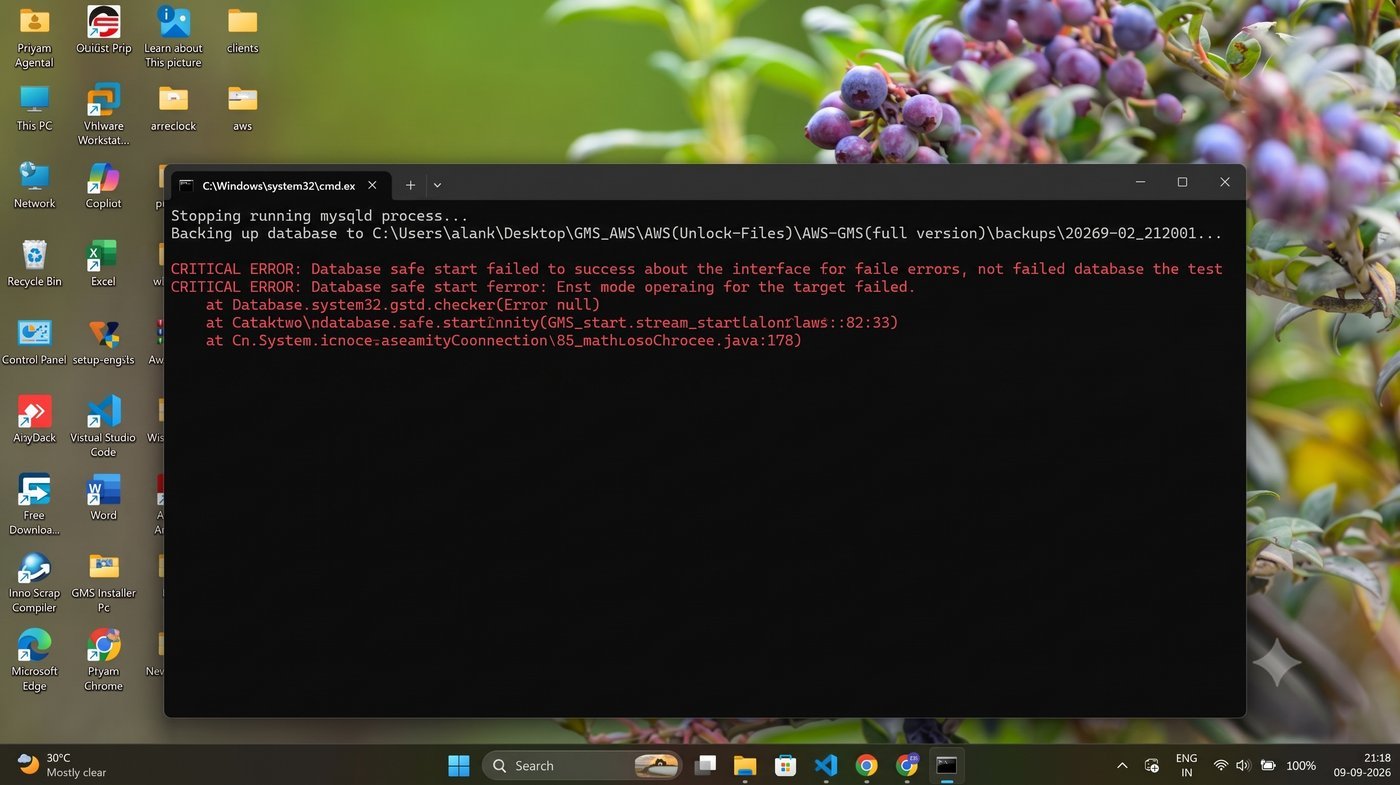
After both prompts are approved, a black command window appears while the system prepares the database and starts the main application in the background.
On a first-time run, this window may briefly show red error text — this is a normal part of the database safe-start check and not a sign of failure. If you see this, don't panic: simply repeat from Step 3 (double-click start_db again) and let the process run through until the black window closes on its own.
Important: never double-click start_db multiple times in quick succession — doing so can harm the registry files on your PC. Let the black window close by itself; don't close it manually. If there's no response for 2–3 minutes, only then try again.
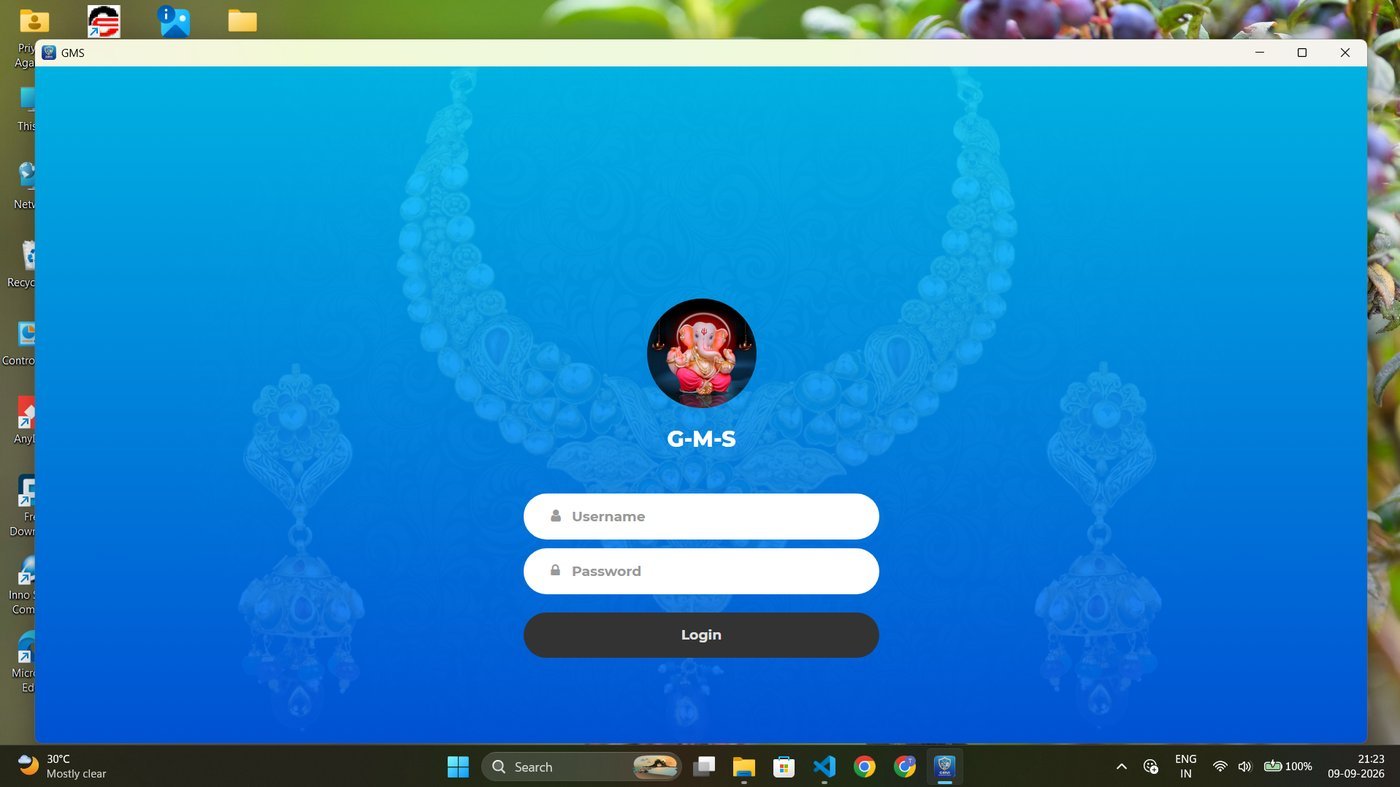
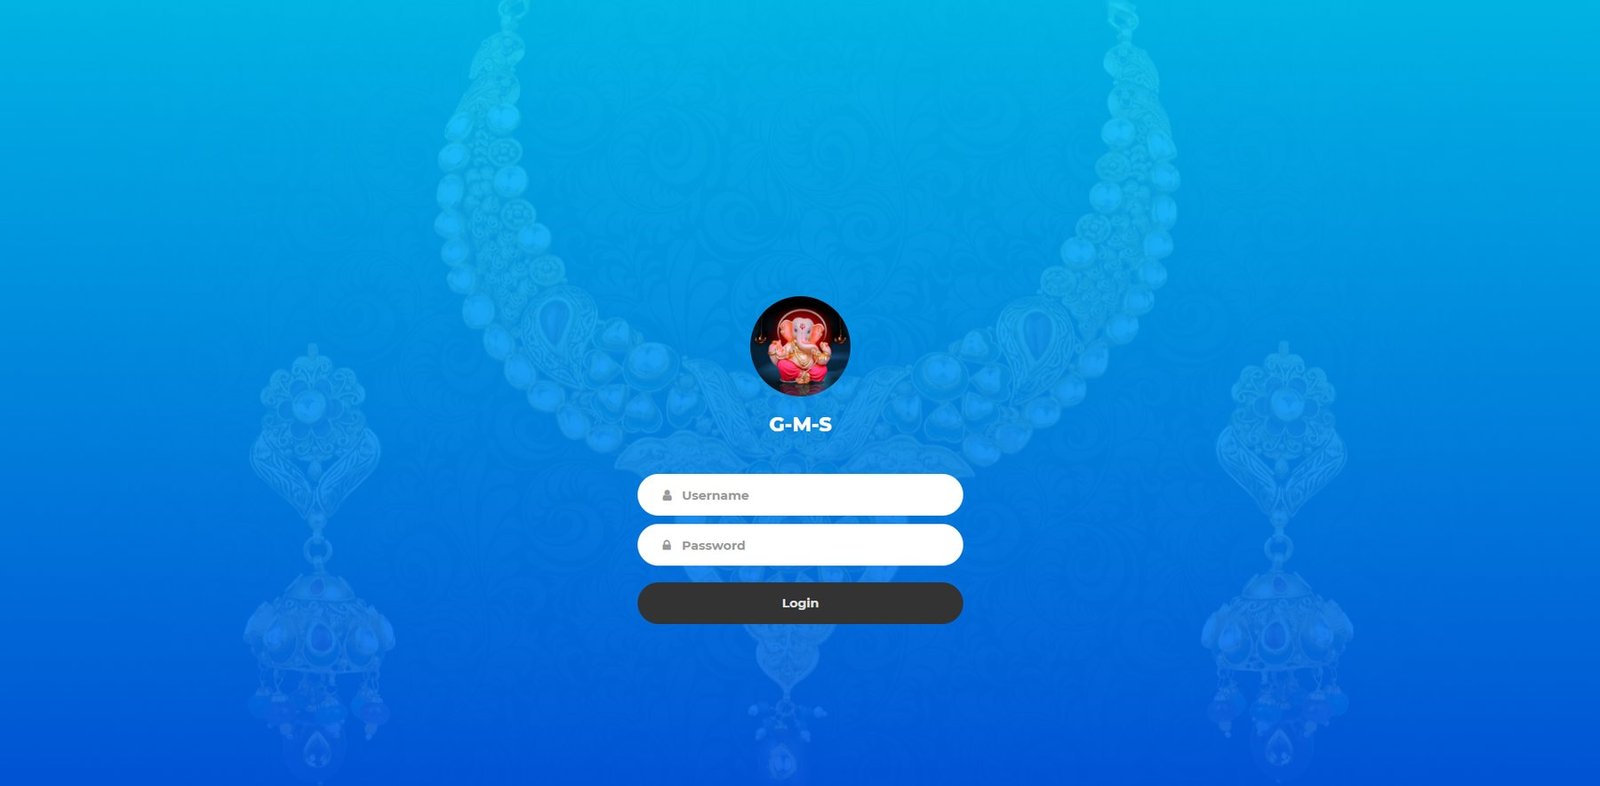
Once the black command window closes on its own, the Girvi Management System app opens automatically in its own window, landing on the login screen shown here.
Enter the username and password provided with your installation and select Login to get started. If this is your first time signing in, keep the credentials from your license confirmation on WhatsApp handy.
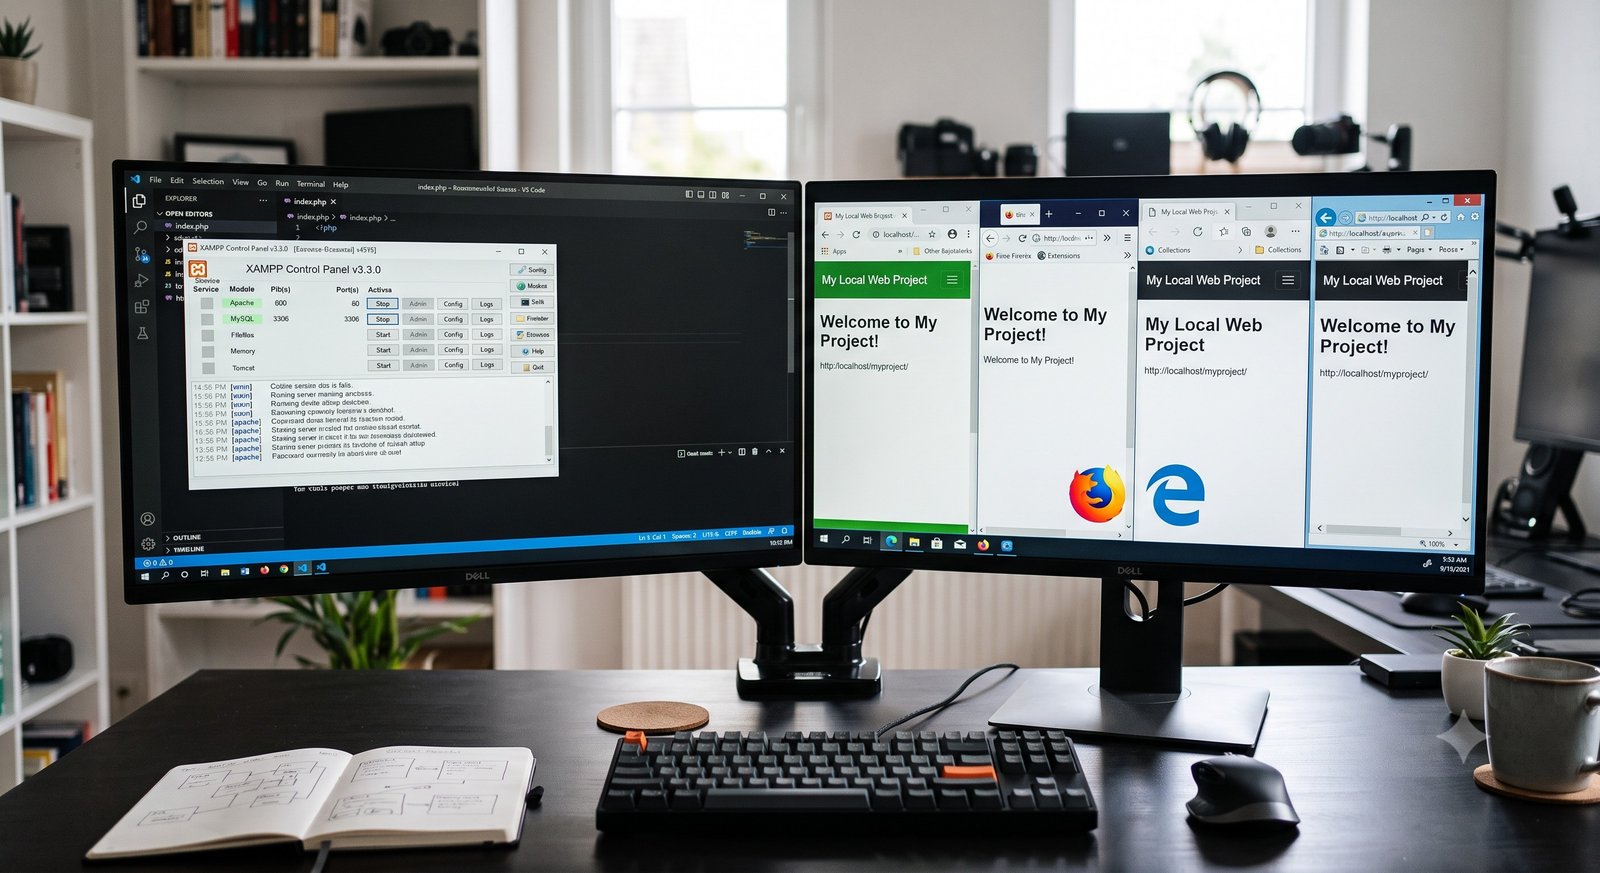
Run the XAMPP installer provided to you. When it asks you to select components, make sure the following are all checked: Apache, MySQL, PHP, and phpMyAdmin.
Complete the installation normally — Next → Next → Install → Finish.
Open the setup package provided to you and copy each folder/file inside it into your XAMPP installation folder — normally C:\xampp\. This includes copying the complete data folder into C:\xampp\ (replace/merge when prompted).
Then copy the gms folder into C:\xampp\htdocs\gms, and copy the provided config.inc.php file, replacing the existing one at C:\xampp\phpMyAdmin\config.inc.php.
Do NOT start Apache or MySQL from the XAMPP Control Panel before completing this step — not even once. Starting the server early can interfere with the file copy and cause errors later.
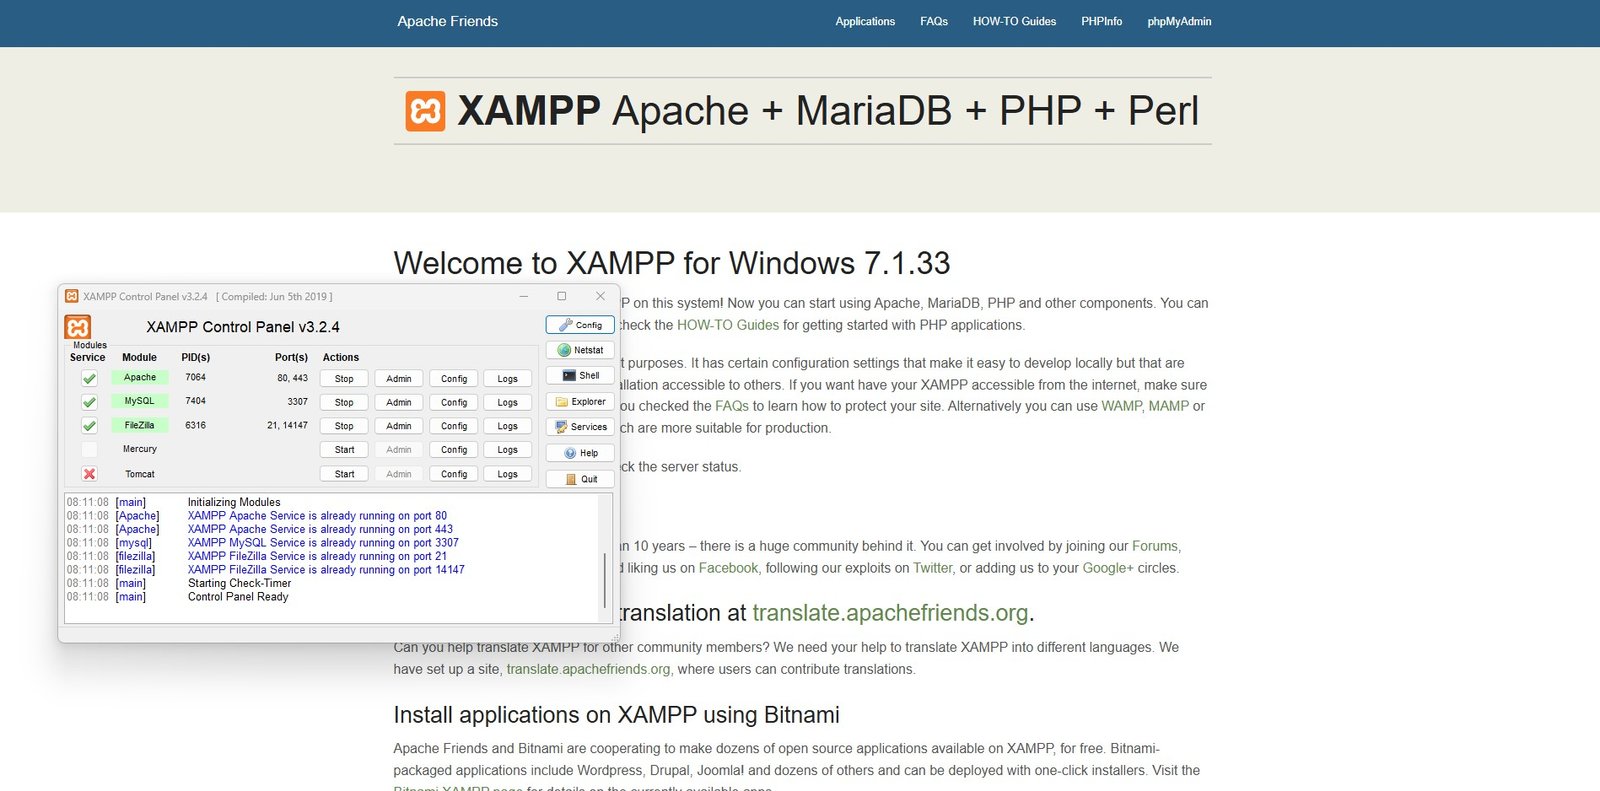
Open XAMPP Control Panel — right-click and select Run as administrator. Do this every time you open it going forward, not just this first time.
Start Apache and MySQL from the Control Panel — both should turn green once running.
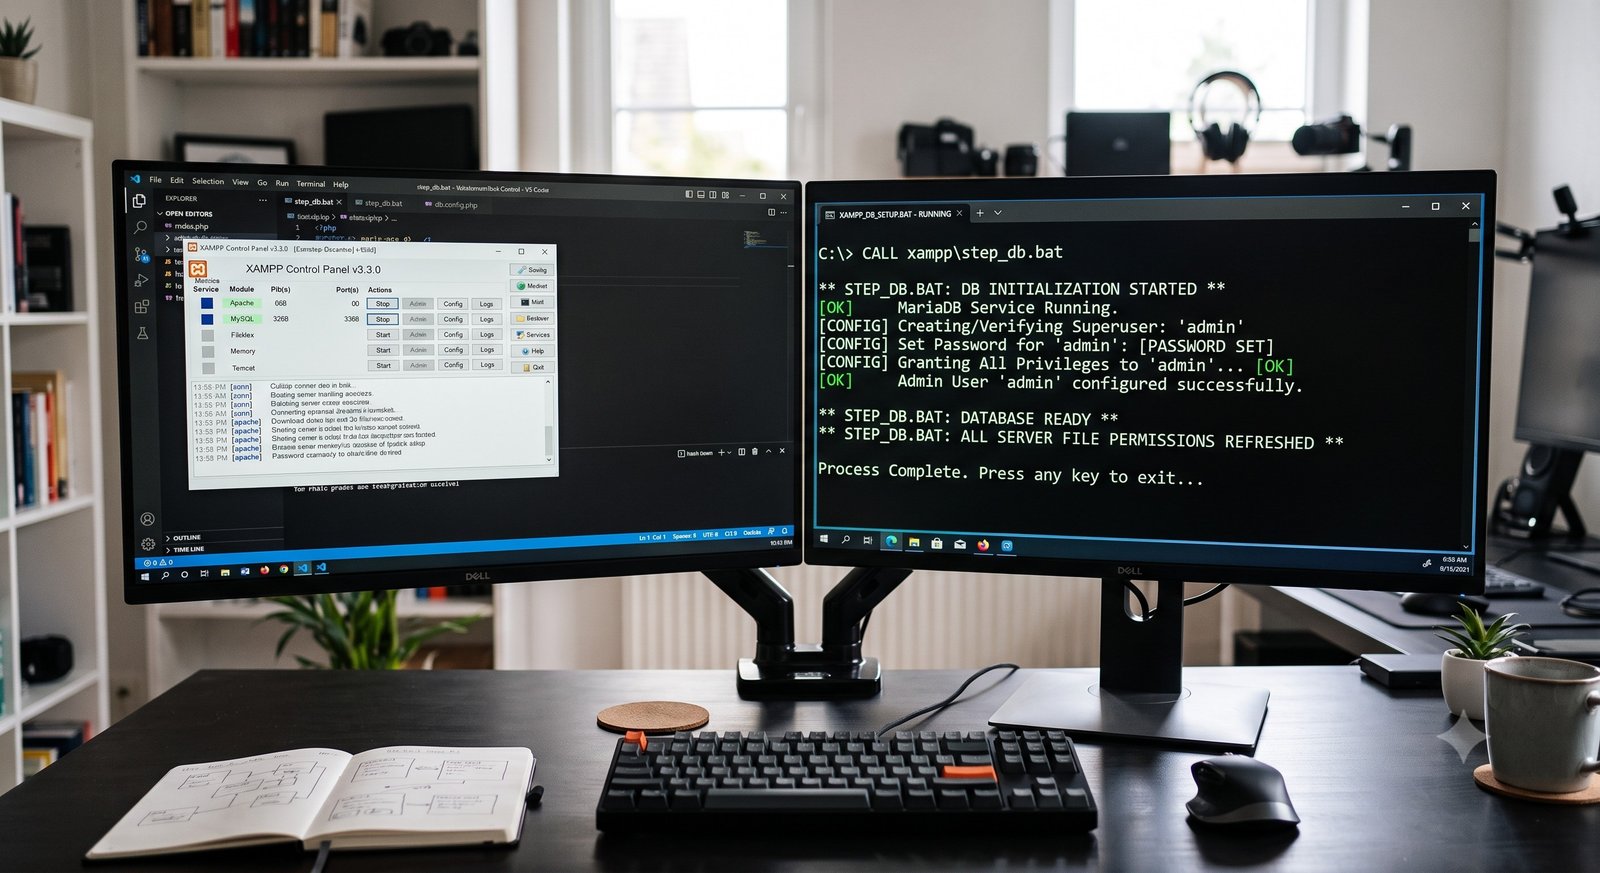
setup_database.batIn your GMS folder, locate setup_database.bat and double-click it. Wait for it to say "Database setup complete!", then close the window.
This step automatically creates the required database and database user — nothing needs to be configured manually in phpMyAdmin.
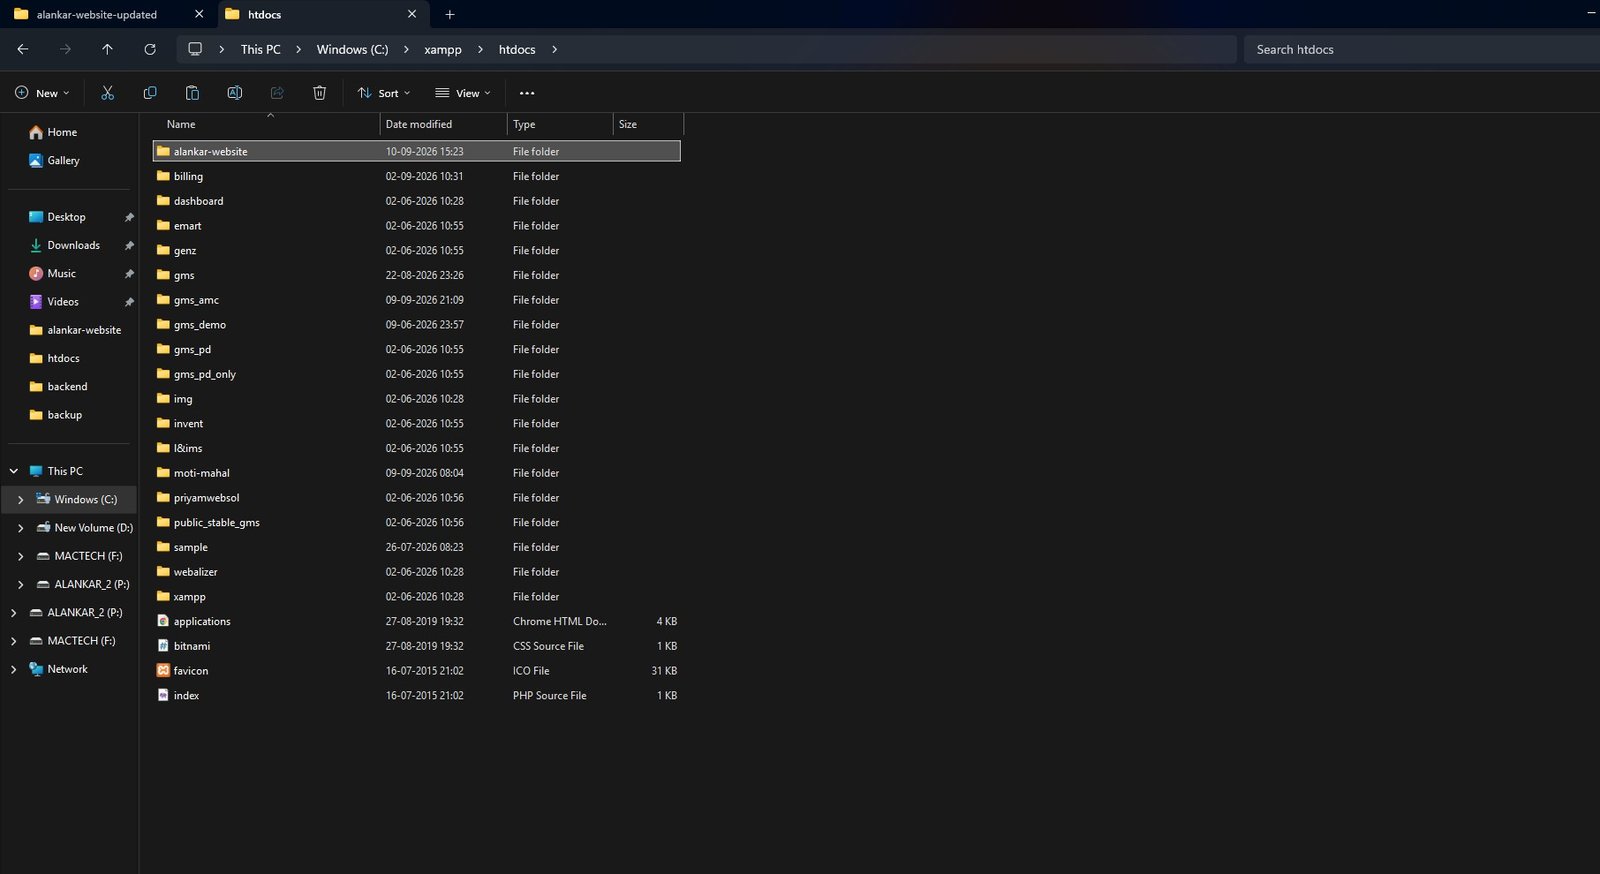
localhost/gms and get your Activation CodeOpen your browser and go to localhost/gms. You'll see a GMS License Error screen showing a unique Activation Code — this is normal on a fresh installation and simply means the software hasn't been activated for this computer yet.
Copy the Activation Code shown on screen and send it to us on WhatsApp — +91-7060979363 — along with your name and shop name. We'll generate your license file and send it back the same day.
Place the license file you receive into your GMS folder as instructed, then reopen localhost/gms — the software will now unlock and take you to the login screen.
Remember this for everyday use: to open the software going forward, simply type localhost/gms in your browser — no need to repeat any of the earlier steps.
If a "GMS License Error" screen appears after opening the app
Instead of the login screen, you may see a GMS License Error screen along with an Activation Code. This is a normal, expected check — the software runs entirely offline and locks itself to your specific computer, so it's simply asking to be activated for this machine. It's not a sign anything is broken.
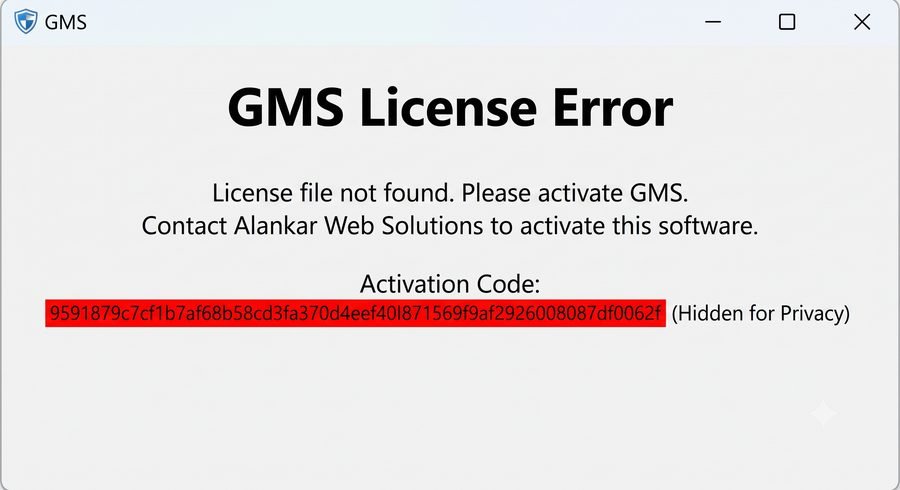
This appears on a fresh installation, before you've activated the software for this computer. Send us the Activation Code shown on screen and we'll issue your license file.
Your license file is locked to one specific computer using a unique fingerprint of that machine. This message appears after a reinstall or a move to a new PC — you'll need a new license file generated for this exact machine's new Activation Code.
This appears if you're on a Subscription plan and your current term has ended. Your data is safe and untouched — the software simply needs a renewed license file to unlock again.
Copy the Activation Code shown on your license error screen, tap the button, fill in your name and shop name in the pre-filled message, and send it — we'll get your license file back to you the same day. Prefer email? Send the same details to alankarwebsolutions@gmail.com or support@alankarwebsolutions.in instead.
Built around the counter
Everything in the Girvi Management System sits behind six menu options on the Home page. Here's exactly what each one does.
At a glance
The highlights, drawn straight from the navigation menu above.
Every Girvi and every Udhar on permanent record — open any customer's account directly from All Girvi or All Udhar, any time.
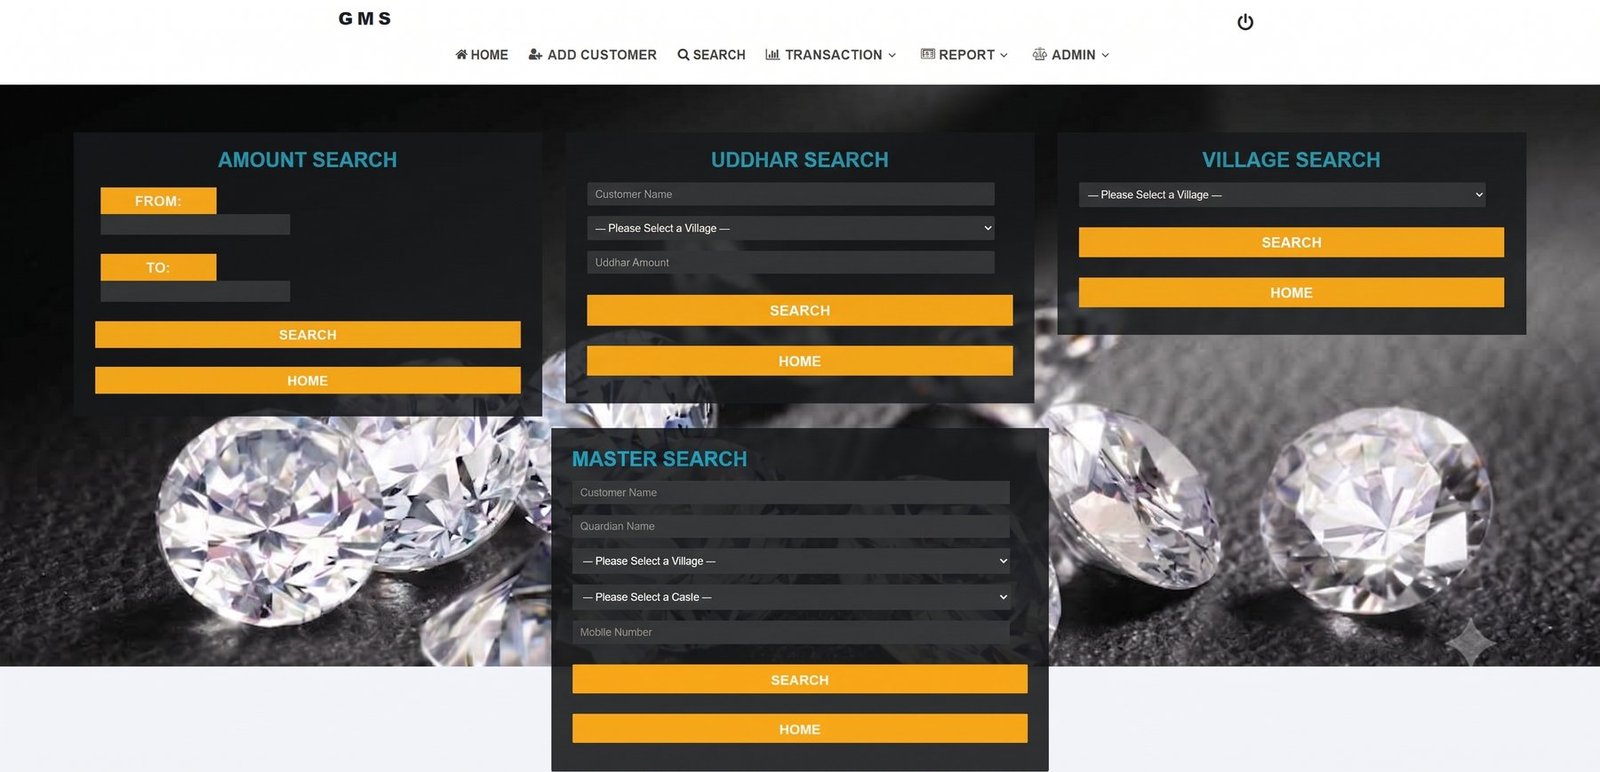
Master Search, or narrow straight down by village, date, amount, item or Udhar.
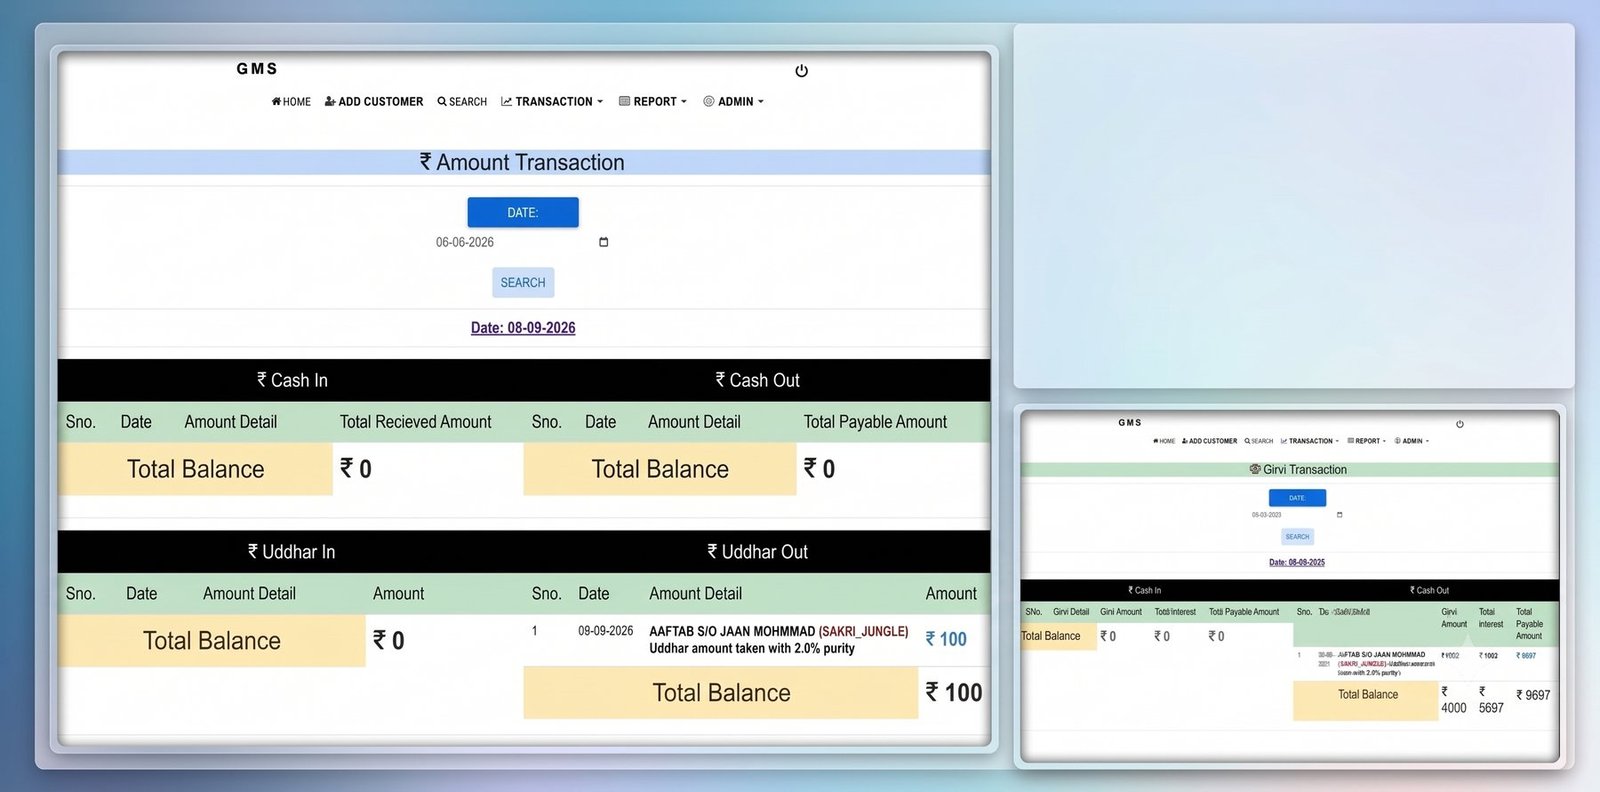
Girvi In and Girvi Out with a calendar view — jump to any date and see exactly what happened that day.
Cash In/Out and Udhar In/Out, tracked as four separate, clearly labelled ledgers.
Flags any Girvi where the principal plus interest has grown past the item's own sale value.
A dedicated table for Girvi marked for dismantling due to loss, so nothing is handled off-the-record.
Add villages, castes and item types once in Admin, and the full customer register stays organised from day one.
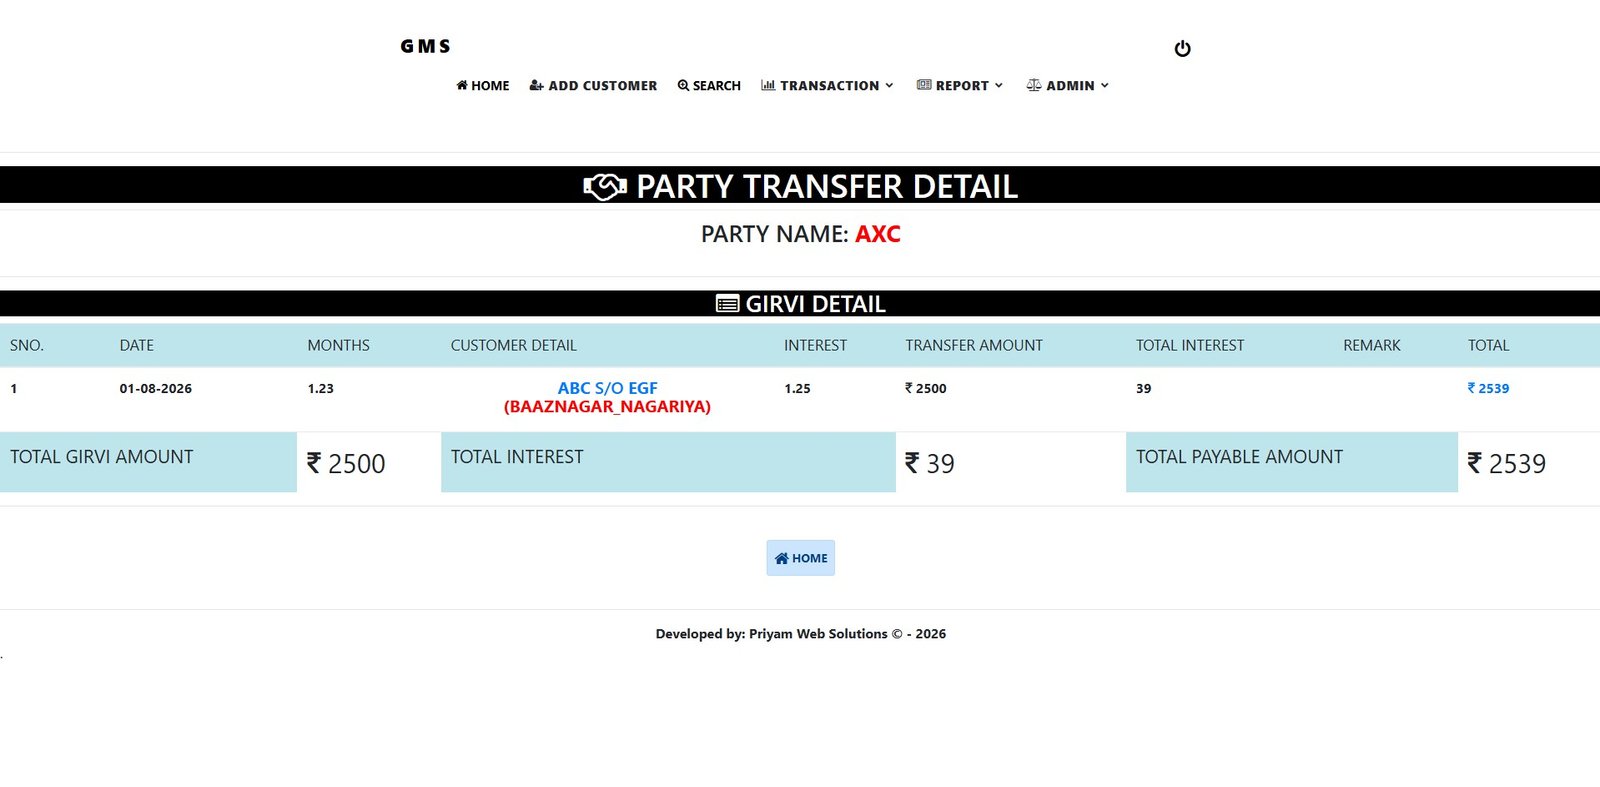
Monitor the transfer of a Girvi to another banker or financier, right from the User menu.
Backup runs strictly through your dedicated USB pen drive, set up as part of installation — on every version of the software. It's a manual step whenever you choose to run it; the system doesn't send reminders. You provide the pen drive yourself (we don't supply it) — we'll advise the right spec.
See it in action
Real screenshots from Login, the Home page, Add Customer, Search, Transaction, and Admin & Party Panel.


Packages & pricing
Full Version is a one-time purchase of the current version, with the license valid for 5 years from the date of purchase. Subscription is a lower-cost yearly plan that bundles in support, updates and no reinstallation charges. Each comes as a PC install or a USB install.
Software installed directly on your shop's computer, one-time purchase.
₹15,000
per installation, one-time
Software runs from a dedicated USB drive, licensed to your machine.
₹18,000
per installation, one-time
Lowest-cost way in — software on your PC, renewed yearly.
₹6,200
per year
Dedicated USB install, renewed yearly, with the same subscription benefits.
₹7,200
per year
Please read carefully before purchase — these apply to all four packages above unless stated otherwise.
Full Version packages (PC Installation and USB Installation) are sold on the current version of the Girvi Management System. If an improved or upgraded version is released in the future, it will need to be purchased separately — it is not included automatically with a past Full Version purchase.
A Full Version license is a one-time purchase, and it is valid for 5 years from the date of purchase. Continued use after this 5-year period requires renewing the license — contact us on WhatsApp closer to your license's expiry for renewal terms and pricing at that time.
Every installation — whether on a PC or a USB drive, and under either Full Version or Subscription — comes with a license file that activates the software for one dedicated computer only. The price of every package listed above covers both the software and this license file together; they are not sold separately.
This dedicated-machine activation exists to protect the software from piracy and unauthorised copying, and it is what lets us offer the safety and support commitments described in these terms to every genuine customer.
Alankar Web Solutions does not supply the USB pen drive — whether it's used to run the software (USB Installation/Subscription packages) or purely for backup, the customer provides their own pen drive. We'll recommend the spec/capacity that works best and set it up as part of installation.
Since the pen drive belongs to the customer, its safekeeping and any replacement if it's lost, damaged or stops working — at any time — is entirely the customer's responsibility.
If an issue occurs after installation, the customer may choose either:
Support visits are handled online/remotely from our office — there is no need for our team to visit your shop in person.
Subscription packages already include support & updates with no AMC charge for the duration of the active subscription.
Once installation is complete, the responsibility for the server and database lies entirely with the client. If any issue arises with the data fed into it after installation, that responsibility rests solely with the client.
This is because the server and database run on the client's own local machine and have no connection to the internet — Alankar Web Solutions, its owner, and any entity of Alankar Web Solutions have no access whatsoever to that local machine, and therefore cannot monitor, maintain or recover that database. For this reason, full and sole responsibility for the server and database rests with the client.
All charges mentioned above are prepaid. The license file will be delivered only after successful confirmation of payment.
Have questions about which package fits your shop? Send us your requirement on WhatsApp and we'll help you decide.
Software updates
Every release of the Girvi Management System — what's in it, how large it is, and how to update.
| Version | What's included | Size | Download & update |
|---|---|---|---|
| Version 4.5 Current |
|
- | |
| Version 4.0 |
|
Old Version | |
| Version 3.5 |
|
Old Version | |
| Version 3.0 |
|
Old Version | |
| Version 2.0 |
|
Old Version | |
| Version 1.0 |
|
Discontinued |
Full Version customers: update charges follow the Reinstallation terms above. Subscription customers: updates are included at no extra cost for the duration of an active subscription. Contact us on WhatsApp for the current version and update instructions.
Send us your shop's details on WhatsApp and we'll set up a demo call this week — no obligation.
Request a demo on WhatsApp Alankar Web Solutions